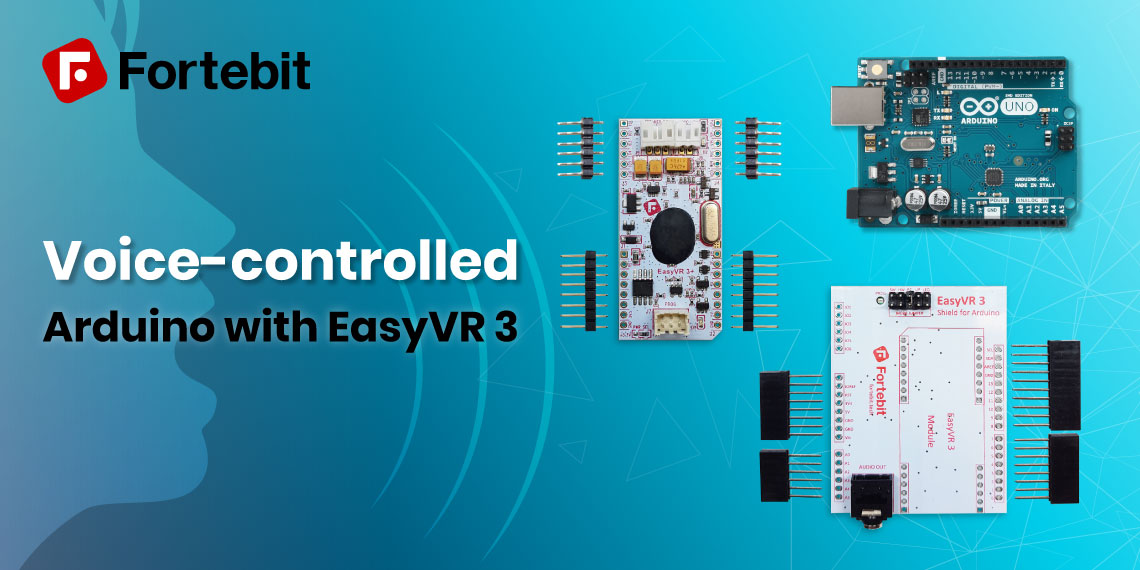
Do you want to teach your Arduino to understand voice commands? With the EasyVR 3 Plus board you can turn it into your own voice-controlled assistant.
Simply watch the tutorial video the guys from Amperka have made. Since they are our official distributor in Russia, they decided to make a tutorial that shows their customers the potential of the EasyVR 3. Even if you don’t speak Russian, you’ll be able to understand the video without trouble.
As you probably already know, the EasyVR 3 has its own processor for voice recognition – Sensory’s RSC-4128. This powerful 8-bit chip is used all over the world in smart home applications, smart assistants, and toys.
But did you know that it’s the same chip that’s used for the famous Furby? The toy wonder of the 90s, with it’s wide blinking owl eyes.
We bet you’ll think of Furby now, every time you work with your EasyVR 3 board.
EasyVR 3 + Arduino

Let’s take a look at how this project works.
The microcontroller processes the signal from the microphone and compares the received command with samples from its memory. If a match is found, the board sends the number of the command to be executed to the controller.
Our EasyVR 3 can store up to 256 different commands, with a duration of about twenty minutes of pre-recorded sounds or speech overall. So, you can feel free to try out all the basic commands you can think of first, like “ON” and “OFF”, and then customize the commands to your project.
But the board is not only capable of listening, but also talking. Two audio outputs are provided for outputting recorded sounds – a compact JST and a familiar stereo jack – therefore it is easy to connect speakers or headphones with a 3.5 mm jack to the board. The board is equipped with a microphone optimized for voice recognition. It connects to a separate connector on the board.